Read More http://www.kevinandamanda.com/whatsnew/tutorials/how-to-use-a-cute-font-for-your-blogger-post-titles.html#ixzz1CADyuDMP

Saturday, October 30, 2010

Painting Pumpkins


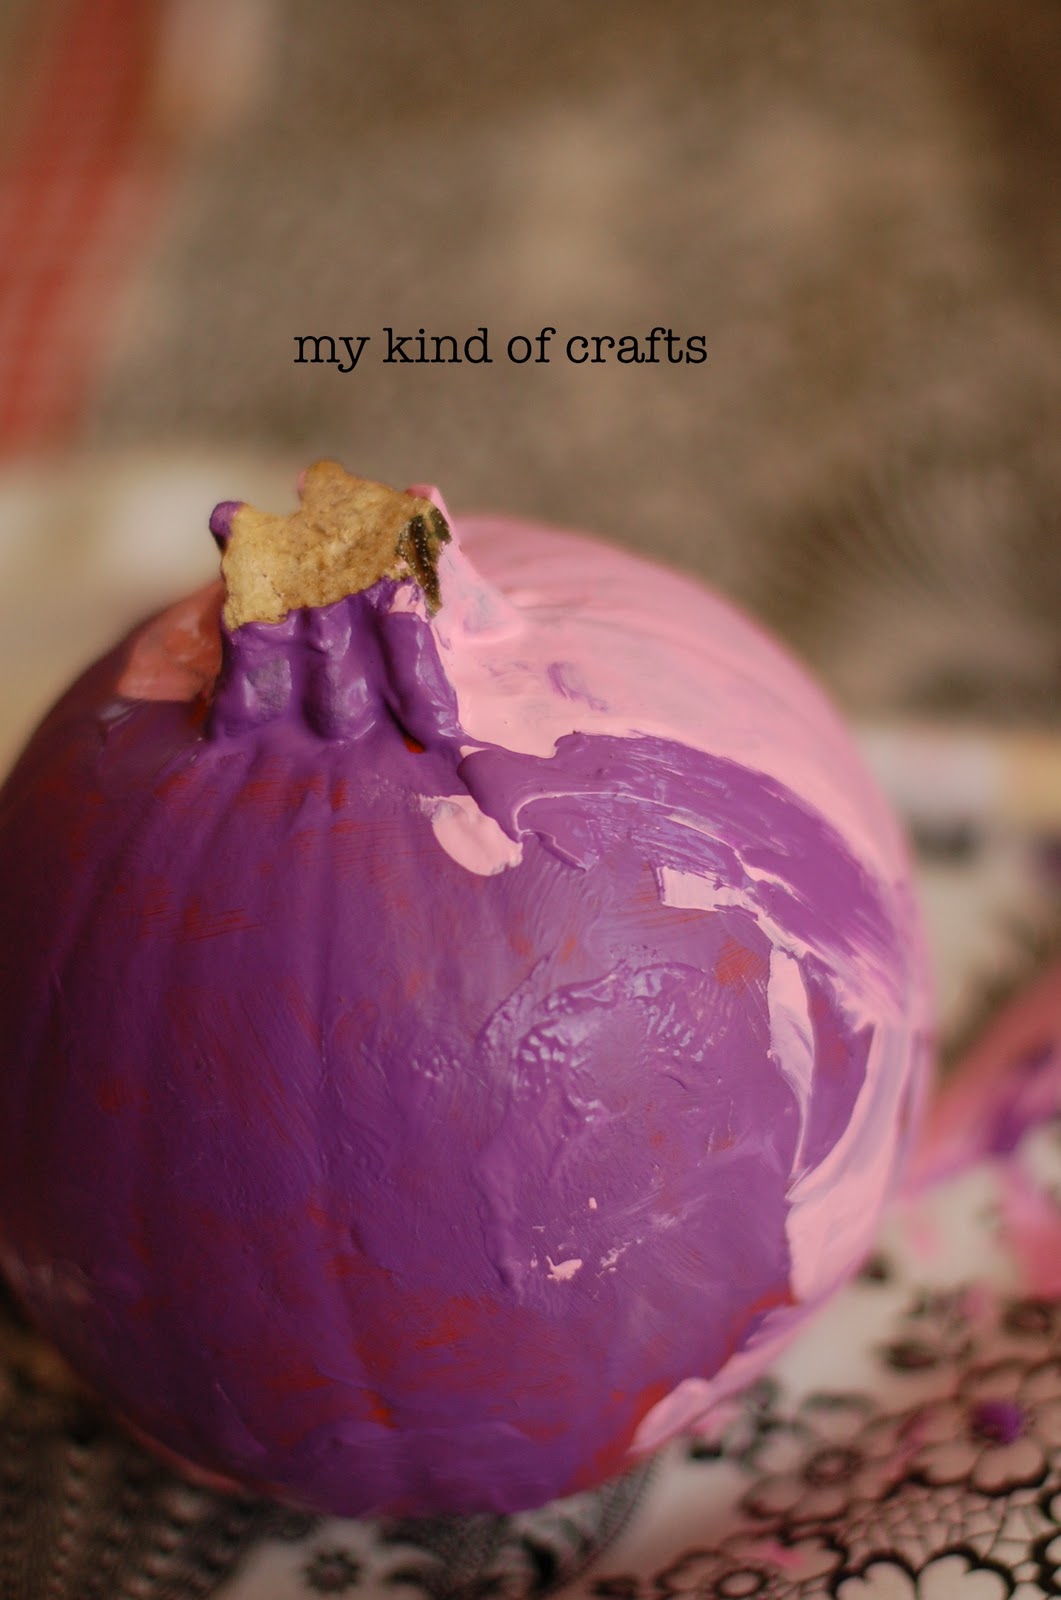
I meant to post this right after we did this craft but I forgot.  Oh, well.  This was so easy but yet so fun!  My kids loved it, especially my two year old son.  I bought a couple pie pumpkins - 2 for $4.  I gathered a few acrylic paints that I hand on hand.  None of them were Halloween colors but my kids didn't care.  I gave my daughter pink and purple and my son turquoise.  I gave them each a paint tray with a sponge brush and let them paint away.  This kept them busy out back for at least an hour.  I was loving it.  It gave my lots of practice time with my new camera lens! :)

Have a happy and safe Halloween!


After the paint dried I added a layer of Mod Podge and then my daughter added glitter to the pink and purple pumpkin but I forgot to take a picture afterwards.  

Wednesday, October 13, 2010

Candy Corn Treats


What to do with all those candy corns?!?  Why not add some candy corn sweetness to your next batch of Rice Krispie Treats!


I sort of followed the recipe on the box.  Here's what I did:
5 TBS butter
4 cups mini marshmallows + 1 cup jumbo sized (I ran out of mini)
5 cups Rice Krispies
2 cups candy corn

1. Melt the butter in a pan over low heat.  Add marshmallows and stir until melted.  Remove from heat.
2. Stir in the Rice Krispies.  Once they are coated well stir in the candy corn.
3. Use wax paper to press down evenly into a 9X13 pan.


Serve and indulge within a couple days!


These make great little treats to pass out to friends and neighbors.  Stick them in a clear bag and tie with some Halloween ribbon and you have yourself a sweet little treat.  I must say, they are quite addicting.  Good thing we passed them out to the soccer team last night!!

Linking to:
Somewhat Simple
Shabby Chic Cottage
Tatertots and Jello


Monday, October 11, 2010

Halloween Frame and Decor

With Halloween coming up I wanted to put out some decorations and add to what I already had without spending a lot of money.  I had some unfinished frames from Ikea and scrapbook paper I didn't end up using I bought for the Boo Wreath.  I decided to make a Halloween frame.  I used the Mod Podge technique.  Initially I thought I'd frame a picture of the kids in the their costumes from last year but I didn't have any printed.  I decided it'd be easier to throw something else together than upload a picture and make a trip to Costco to get a picture!   I came up with a framed bat.  I think it's cute and my kids love it!  Maybe next year I'll have some printed out pictures and frame one of them in the costumes.


 Once I had it on the mantle I decided I needed something else to even out the space so I found another frame that wasn't being used and glued a skeleton to some scrapbook paper and came up with this guy...


Here's the finished mantle.  I'm going to grab some of that webby stuff to add a little more to it.


Linking to:
Skip to my Lou
The Girl Creative
Somewhat Simple Halloween
Tatertots and Jello

Tuesday, October 5, 2010

Caramel Apple Sugar Cookies

I just love fall.  Everything about fall makes me happy.  The cooler weather is a great start to bliss, but I am always excited to see what Target's Halloween candy section has in store each year.  I love the different flavors of Hershey's candies.  It's always fun to try and create something fun to compliment the candy.  The other day I found Caramel Apple Kisses.  Let me tell you that they do in fact taste just like one.  Oh so sweet!  Since they're so sweet I thought they'd need a cookie that wasn't overly sweet.  I decided to make sugar cookies but not cut-out cookies and top them with the kisses.  Y.U.M.


Since the kisses are caramel apple I thought the cookies should be red...like an apple. :)  I used WIlton coloring gel.

Once the dough is ready you separate it in half, wrap in wax paper and refrigerate for two hours.


Even though I wasn't going to cut the cookies I rolled the dough out to flatten it some.


I rolled it into small balls and then rolled the balls in sugar.


Ready to bake!

As soon as the cookies have baked put the unwrapped kisses on top immediately.  Let set for a minute then put the baking sheet in the fridge for about 30 minutes or else you'll have a melted chocolate mess.


Then you indulge!


My sweet taste tester approved!


Have you made anything fun with Hershey Kisses lately?

Linking to:

Friday, October 1, 2010

Boo Wreath

It's October and that means it's getting cooler outside AND it's time to put out pumpkins and fall decor including Halloween decorations!  I do not have a fun Halloween wreath for my front door.  When I saw this one made by Craftaholic Anonymous on eighteen25's blog I thought, "That is cute and I can totally make that!"  Eighteen25 had different guest bloggers all throughout September posting fun Halloween ideas.  You should jump over and check out all the craftiness over there.

I followed the directions on her blog.  I bought my materials at Hobby Lobby.  The burlap was $3.99 and I have a lot left over.  I don't think I made mine as full.  The letters were $2 and I spent less than a $1 for the scrapbook paper.  The styrofoam wreath was $4.49 and I used the 40% off coupon.  I had the Mod Podge and paint.  This was a pretty inexpensive project and I think it turned out Boo-tifully!


Linking to the eighteen25 Linky partyJust a Girl & Skip to my Lou.