Read More http://www.kevinandamanda.com/whatsnew/tutorials/how-to-use-a-cute-font-for-your-blogger-post-titles.html#ixzz1CADyuDMP
Showing posts with label sweets. Show all posts

Thursday, January 27, 2011

Let's make Whoopie!

We all know that Valentine's Day is coming up so why not turn something round into a heart?!?  With a little extra time and effort you can make heart shaped whoopie cookies.  They turned out really cute and the kids love them!

Here's what I did (recipe at bottom of post):

After the dough sat in the fridge overnight (because we ran out of the time the night prior) I used powered sugar to "flour" my rolling pin.  I took a little out at a time and flattened it on the parchment paper then used a heart shaped cookie cutter.  After I laid them all out on the sheet I dusted them with powered sugar.

After they baked and cooled I used a pastry bag to put the filling on one inside of the cookie.  Make sure you have a lot so it goes to the edges when the two cookies are closed.

 Press the cookies together but not all the way.  You want to leave some space between the two.

Lightly press the edges into sprinkles or your choice of decoration.
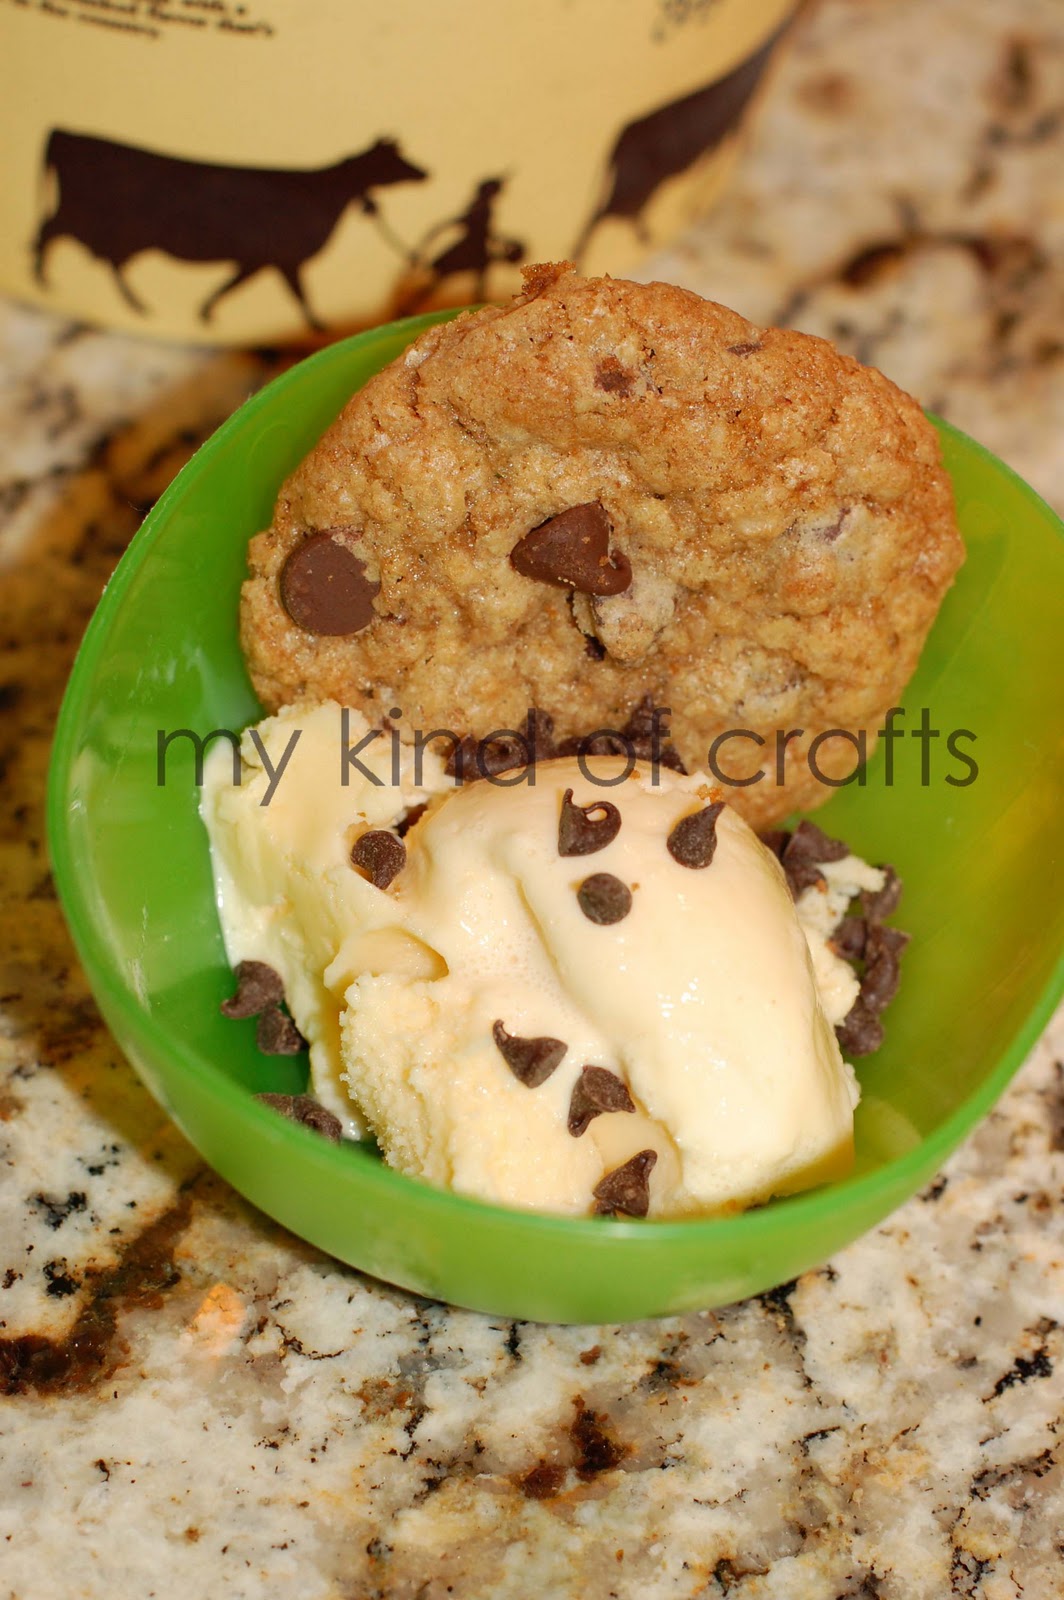
Indulge! 


 To go along with the heart theme we had heart shaped French Toast for dinner.  I only do this on nights my husband is out of town.  The kids love it!


Whoopie Cookies

Cookies:
1 3/4 flour
1/2 cup Dutch-processed cocoa powder (I used natural b/c I had it on hand)
1/4 tsp salt
1 cup sugar
3/4 cup (1 1 /2 sticks) butter, room temp
1 egg

Filling:
1 cup plu 2 TBL powdered sugar
3/4 (1 1 /2 sticks) cup butter, room temp
1/2 tsp vanilla extract
sprinkles or your choice of decoration

1. Preheat oven to 350 (do not preheat until after your dough has chilled and you are ready to actually bake!).   Line two baking sheets with parchment paper.
2. In medium bowl, whisk flour, cocoa and salt together.
3. In a standing mixer bowl beat sugar and butter together until light and fluffy.  Add egg and mix well.
4. Add dry ingredients into butter mixture and beat until blended.  Refrigerate the dough for an hour or longer.
5. Using dough, scoop 1 tablespoon of dough out and roll into smooth balls.  Place the balls onto the parchment paper at least 2 inches apart.
6. Using the bottom of a flat glass, flatten each ball of dough into a 2-inch round circle.
7. Bake until they do not look wet, or for about 11 minutes.
8. Cool on tray for 5 minutes then cool completely on rack.
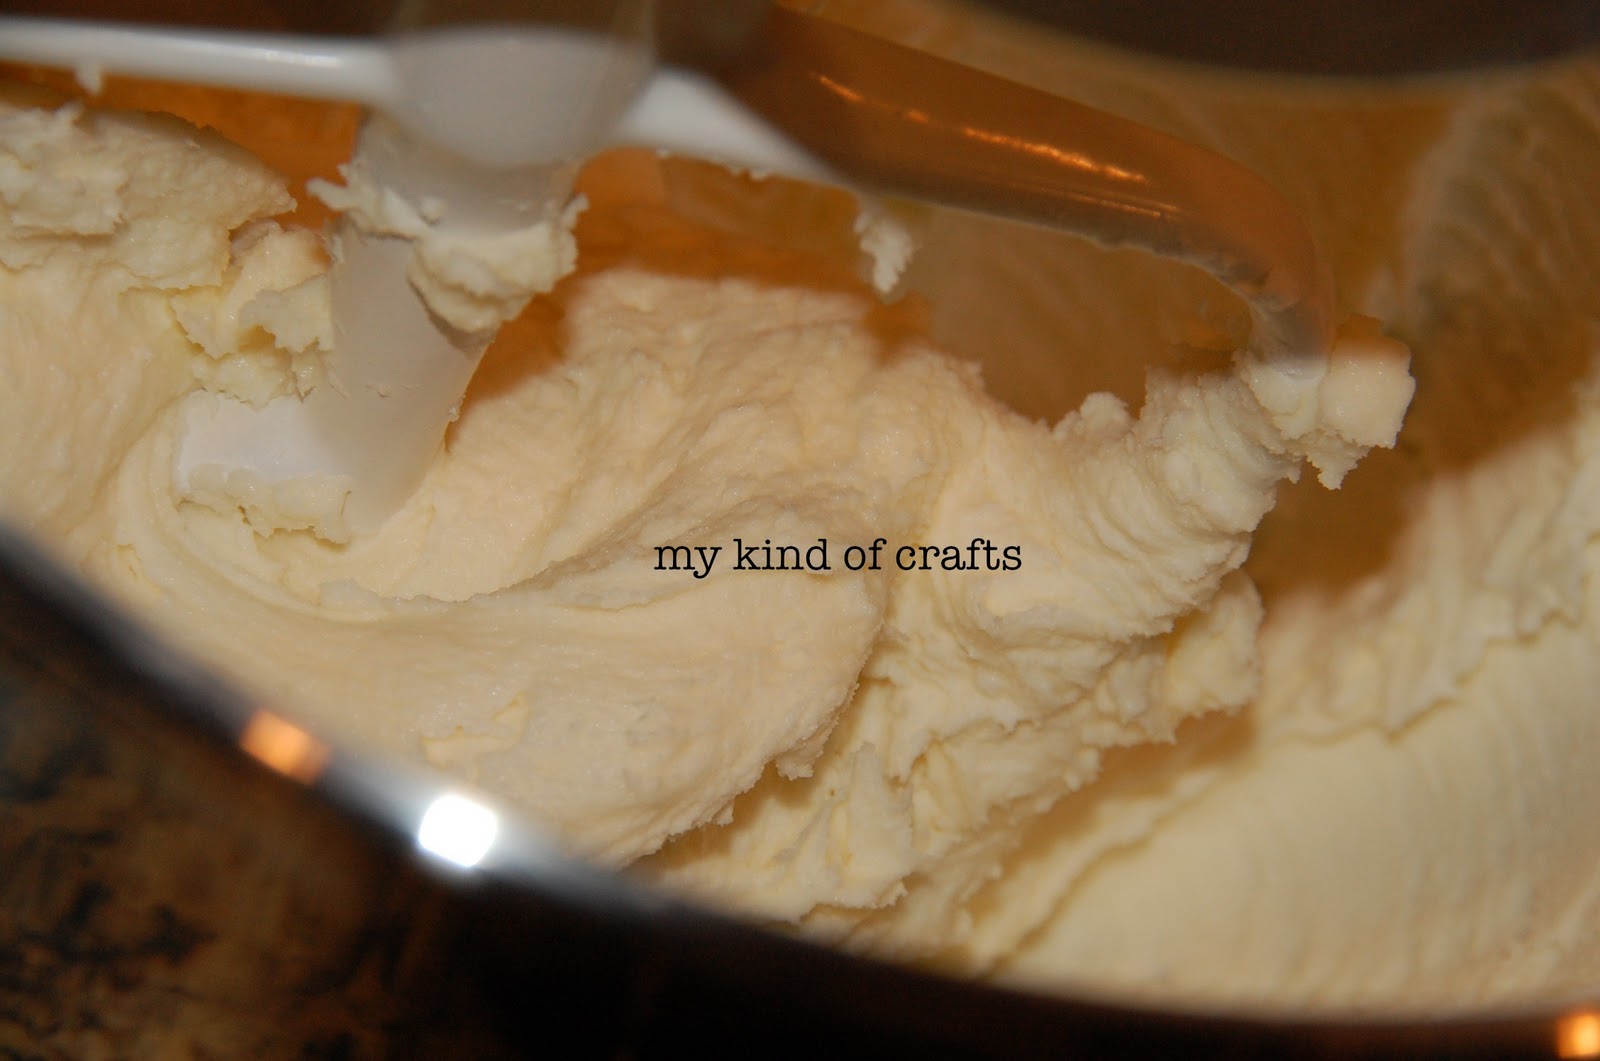
9. For filling: place the butter in a standing mixer bowl and beat until smooth.  Add powder sugar and beat until blended well.
10. To assemble: Spread 2 heaping teaspoons of filling evenly over flat side of 1 cookie to edges.  Top with another cookie.
11. Roll cookies in sprinkles or other decoration.

This recipe is adapted from the www.kidscookingco.com.  We made these over Christmas there with peppermint filling and rolled in crushed peppermint.

monogram

giveaways
The Girl Creative


Monday, January 17, 2011

Chocolate Chips + Oats = Fun Treats!

Last week the kids and I decided to make cookies.  It had snowed here, finally, which meant we were pretty much stuck at home since Texans don't mix snow/ice and driving.  I pulled out the chocolate chips and noticed a recipe on the back for Milk Chocolate Oatmeal Cookies.  I'm not going to type out the recipe but you can click on this link to find it on Nestle's website.

*I did make my own revisions to the recipe.  I used 3/4 white flour and 3/4 whole wheat flour.  I also mixed the egg, milk and vanilla in a bowl together before I added to the combined ingredients (not sure if that makes a difference or not).  Lastly, I set aside about 1/2 of the chocolate chips.  After I rolled the dough into balls I placed two to three of the chocolate chips on top of the dough balls.  This gives the cookies a nice extra chocolate appearance.


Treat #1 - Cookies and milk

My daughter and I thought it would be fun to make a big cookie for daddy in the shape of a heart.  Could be cute for Valentines Day!

Next time I won't make the point so close to the edge of the pan.
Treat #2 - Heart shaped GIANT cookie


Treat #3 - Ice Cream Cookie sandwich rolled in mini chocolate chips

Treat #4 - Cookies with Vanilla Ice Cream (Blue Bell, of course) drizzled with mini chocolate chips


My daughter - All done!


Localfunforkidsfriday

Wednesday, October 13, 2010

Candy Corn Treats


What to do with all those candy corns?!?  Why not add some candy corn sweetness to your next batch of Rice Krispie Treats!


I sort of followed the recipe on the box.  Here's what I did:
5 TBS butter
4 cups mini marshmallows + 1 cup jumbo sized (I ran out of mini)
5 cups Rice Krispies
2 cups candy corn

1. Melt the butter in a pan over low heat.  Add marshmallows and stir until melted.  Remove from heat.
2. Stir in the Rice Krispies.  Once they are coated well stir in the candy corn.
3. Use wax paper to press down evenly into a 9X13 pan.


Serve and indulge within a couple days!


These make great little treats to pass out to friends and neighbors.  Stick them in a clear bag and tie with some Halloween ribbon and you have yourself a sweet little treat.  I must say, they are quite addicting.  Good thing we passed them out to the soccer team last night!!

Linking to:
Somewhat Simple
Shabby Chic Cottage
Tatertots and Jello


Tuesday, October 5, 2010

Caramel Apple Sugar Cookies

I just love fall.  Everything about fall makes me happy.  The cooler weather is a great start to bliss, but I am always excited to see what Target's Halloween candy section has in store each year.  I love the different flavors of Hershey's candies.  It's always fun to try and create something fun to compliment the candy.  The other day I found Caramel Apple Kisses.  Let me tell you that they do in fact taste just like one.  Oh so sweet!  Since they're so sweet I thought they'd need a cookie that wasn't overly sweet.  I decided to make sugar cookies but not cut-out cookies and top them with the kisses.  Y.U.M.


Since the kisses are caramel apple I thought the cookies should be red...like an apple. :)  I used WIlton coloring gel.

Once the dough is ready you separate it in half, wrap in wax paper and refrigerate for two hours.


Even though I wasn't going to cut the cookies I rolled the dough out to flatten it some.


I rolled it into small balls and then rolled the balls in sugar.


Ready to bake!

As soon as the cookies have baked put the unwrapped kisses on top immediately.  Let set for a minute then put the baking sheet in the fridge for about 30 minutes or else you'll have a melted chocolate mess.


Then you indulge!


My sweet taste tester approved!


Have you made anything fun with Hershey Kisses lately?

Linking to:

Monday, September 20, 2010

Candied Marshmallows

Yesterday we celebrated my daughter's 5th birthday.  One of the items I put in the favor bags was candied marshmallows made into lollipops.  I saw these in a candy shop and thought they'd be pretty easy to make. In fact, I didn't even do a trial, I just whipped them up on Friday!  Here's what you need to make them: Jet puffed marshmallows (go for the real stuff, not store brand), Wilton candy melts, sprinkles or decorating sugar, lollipop sticks, small clear bags, ribbon and wax paper.

1. Push the lollipop sticks all the way into the marshmallows and lay on wax paper.
2. Melt the wafers in a microwave safe bowl in 30 second increments, stirring between until melted.
3. Dip each marshmallow into the melted candy and then smooth the edges (I used a knife).
4. Immediately dip into your choice of decoration.
5. Lay on wax paper.
6. Once they are completely dry you can put the clear bag over the marshmallow and tie ribbon.

Easy, cute and yummy!


Linking to:


Monday, September 6, 2010

Chocolate Cupcakes with Buttercream Icing

One of my favorite things to do is bake.  Everyone that knows me knows this about me.  I always bring the baked goods to any type of event.  However, when it comes to my kids' parties I always order a cake from a professional cake lady.  My daughter will be 5 (sigh) in a couple weeks.  I had this idea that I'd teach myself how to make a fantastic professional looking cupcake for her super fun birthday party.  She could really care less what the cupcakes look like.  I on the other hand do!  I have been watching different techniques on "how to frost a cupcake"on you tube.  The first one I watched was from a bakery in Seattle.  Mine didn't turn out nearly as pretty as the ones at the bakery.  Then I came across a video by Jenny Steffens.  She has a video on making the perfect cupcake and how to decorate them.  I followed her recipe for the cake but for the icing I found a recipe for Sprinkles Buttercream icing and it's really good so I used it!


I sifted the powered sugar so there wouldn't be any lumps.


I added some blue coloring but it looks green.


Not bad for my first try.  
This is the best one out of 24 though. :)  I think I should have cut a little more off the tip of the bag.
They are delicious!

Recipe for Sprinkles Vanilla Buttercream Frosting

1 cup butter, softened
3 1/2 cups powered sugar
1 tsp milk
1 tsp vanilla extract
1/8 tsp salt

1. In a bowl, combine butter, sugar and salt.  Beat until blended.
2. Add milk and vanilla and beat for an additional 3-5 minutes or until smooth and creamy.


The Girl Creative giveaways