Read More http://www.kevinandamanda.com/whatsnew/tutorials/how-to-use-a-cute-font-for-your-blogger-post-titles.html#ixzz1CADyuDMP

Monday, September 20, 2010

Candied Marshmallows

Yesterday we celebrated my daughter's 5th birthday.  One of the items I put in the favor bags was candied marshmallows made into lollipops.  I saw these in a candy shop and thought they'd be pretty easy to make. In fact, I didn't even do a trial, I just whipped them up on Friday!  Here's what you need to make them: Jet puffed marshmallows (go for the real stuff, not store brand), Wilton candy melts, sprinkles or decorating sugar, lollipop sticks, small clear bags, ribbon and wax paper.

1. Push the lollipop sticks all the way into the marshmallows and lay on wax paper.
2. Melt the wafers in a microwave safe bowl in 30 second increments, stirring between until melted.
3. Dip each marshmallow into the melted candy and then smooth the edges (I used a knife).
4. Immediately dip into your choice of decoration.
5. Lay on wax paper.
6. Once they are completely dry you can put the clear bag over the marshmallow and tie ribbon.

Easy, cute and yummy!


Linking to:


Monday, September 6, 2010

Social Media Revolution

Interesting video. Hadn't really given much thought to social media taking over as much as it has. Seems like it will be here a while...at least according to this...


Chocolate Cupcakes with Buttercream Icing

One of my favorite things to do is bake.  Everyone that knows me knows this about me.  I always bring the baked goods to any type of event.  However, when it comes to my kids' parties I always order a cake from a professional cake lady.  My daughter will be 5 (sigh) in a couple weeks.  I had this idea that I'd teach myself how to make a fantastic professional looking cupcake for her super fun birthday party.  She could really care less what the cupcakes look like.  I on the other hand do!  I have been watching different techniques on "how to frost a cupcake"on you tube.  The first one I watched was from a bakery in Seattle.  Mine didn't turn out nearly as pretty as the ones at the bakery.  Then I came across a video by Jenny Steffens.  She has a video on making the perfect cupcake and how to decorate them.  I followed her recipe for the cake but for the icing I found a recipe for Sprinkles Buttercream icing and it's really good so I used it!


I sifted the powered sugar so there wouldn't be any lumps.


I added some blue coloring but it looks green.


Not bad for my first try.  
This is the best one out of 24 though. :)  I think I should have cut a little more off the tip of the bag.
They are delicious!

Recipe for Sprinkles Vanilla Buttercream Frosting

1 cup butter, softened
3 1/2 cups powered sugar
1 tsp milk
1 tsp vanilla extract
1/8 tsp salt

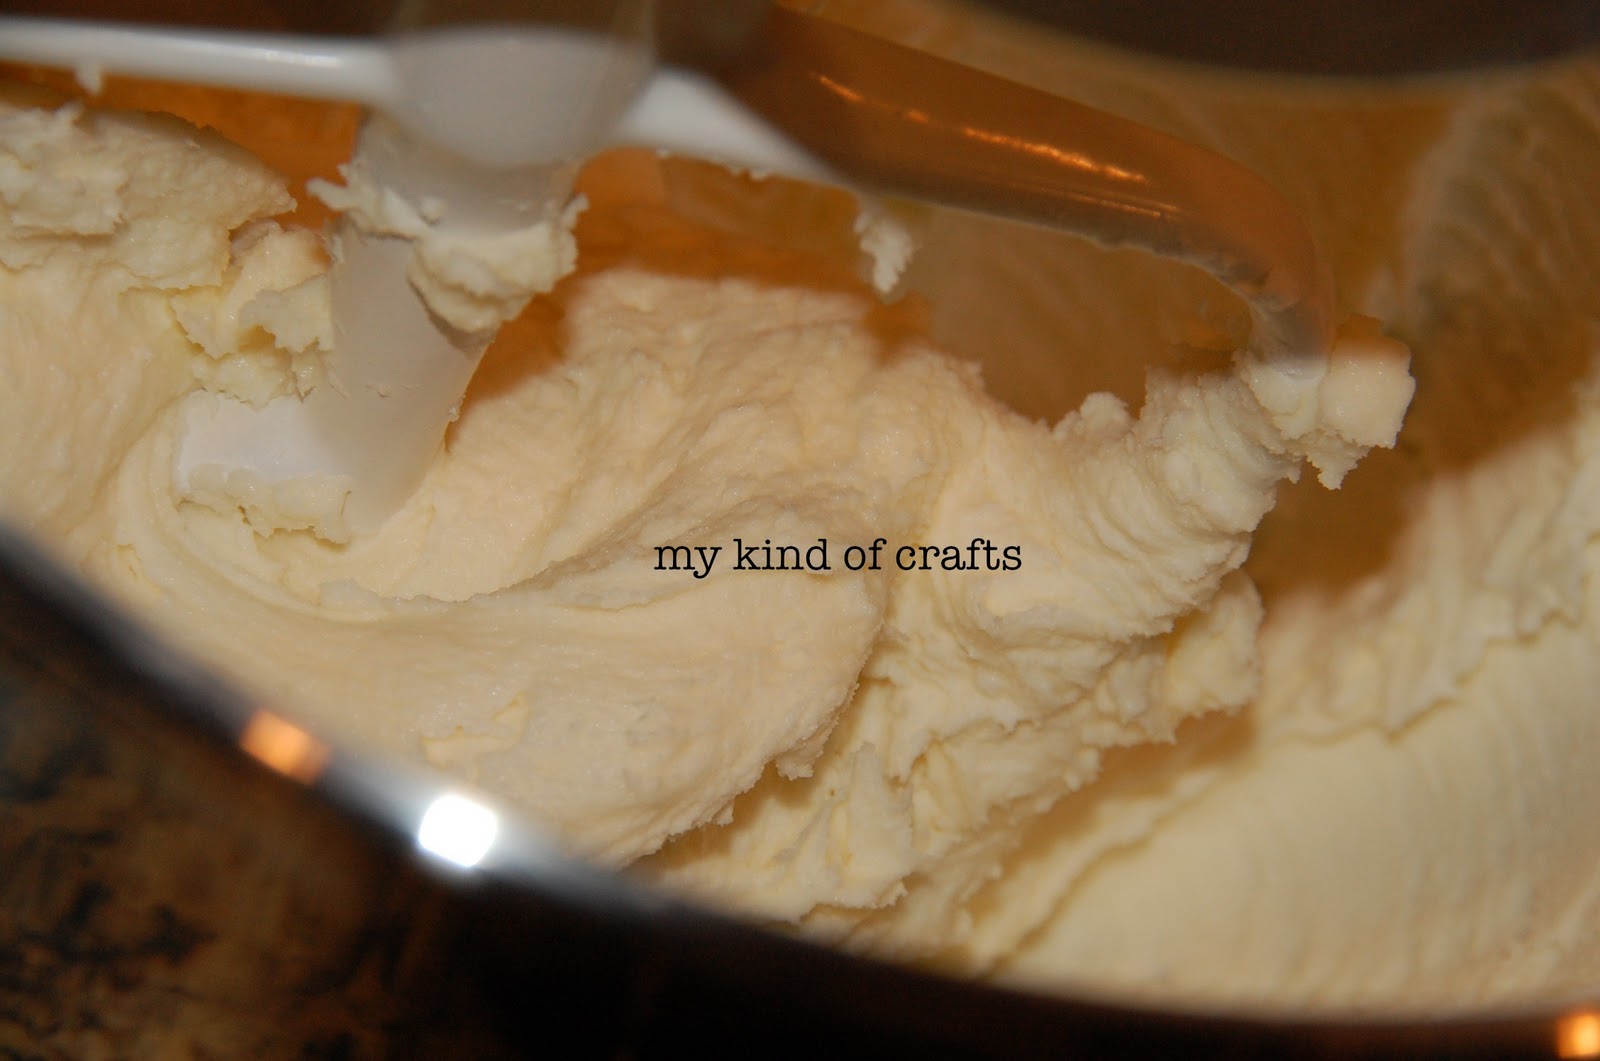
1. In a bowl, combine butter, sugar and salt.  Beat until blended.
2. Add milk and vanilla and beat for an additional 3-5 minutes or until smooth and creamy.


The Girl Creative giveaways

Saturday, September 4, 2010

Pork Canitas Tacos

This recipe is too yummy to not pass along.  My sweet friend (who just started a new home blog) shared this over the summer and I finally got around to making it the other night.  This is so easy to make.  All you need is a crock pot and the ingredients!  I must say that since I'm a stay-at-home mom it was torture smelling this cook all day.  As soon as the hubs came through the door we were all ready to eat.

Recipe:

1 1/2 lb pork shoulder (Boston Butt), cut into 1 1/2 inch pieces
1 teaspoon salt
2 tsp black pepper
2 tsp dried oregano
1/2 tsp ground cumin
1/2 large onion, cut into 4 pieces
2 garlic cloves
1 avocado - sliced
Fresh cilantro
Corn tortillas
Limes
**Toss pork in bowl of slow cooker with salt, pepper, oregano and cumin.  Place onion pieces and garlic cloves on top of pork.  Cover and cook on low setting for 6 hrs or until meat is very tender and fallling apart.
Discard onion and garlic pieces.
Using fingers, shred pork.
Serve pork, wrapped in warm tortillas, top with avocado slices, cilantro and tomatillo salsa.
Use lime wedges to garnish!

*I didn't cut the meat up, I left it all one piece when I placed it in the crock pot.

After I put all the spices on the meat I thought it looked strange because there wasn't any liquid in the crock pot so I reread the instructions but that's what it says.  I kept checking throughout the day and I noticed the bowl was filling with liquid as it cooked!  The meat was so tender.  It makes great leftovers as well.  What a nice change from your regular hamburger taco meat.

All dressed and ready to cook! (I forgot to buy an onion so I used minced onion)

Delicious!
Extra delicious with corn tortillas but I forgot to take a pic as we were eating too quickly!!

Enjoy :)

Friday, August 20, 2010

Cotton Candy

A few weeks ago we had a circus theme week.  One of the crafts we did was make cotton candy (non-edible).  My daughter had a friend over and they both enjoyed this easy craft!

We started the day off with a clown coloring sheet.

Rolling up the handle of the cotton candy also works as a telescope. :)

Spreading out some cotton.

Glue cotton balls onto the paper along with the handle.
Practice handwriting by writing "Cotton Candy" 

Ta da

To finish up the craft I served real cotton candy (found at Kroger).  


Wednesday, August 11, 2010

Terra Cotta to Coasters

Somewhere in bloggy world a few months ago I saw a post about terra cotta saucers turned into coasters.  Brilliant.  I've been looking for a set of coasters for ages that will match my decor and will catch the perspiration.  In other words, I hate a coaster that the perspiration from my glass just drips off the sides.  Well, this my friends is the answer.  I envisioned them with scrapbook paper of a map but after weeks of looking for map paper I gave up.  I settled on some fall paper.  I figured that this easy project would be fun to do again so I can re-create some new ones for each season.  I was also thinking some cute Christmas paper might be cute as little teacher gifts in just a few short months.


First, I painted the outside of the saucers brown with acrylic paint.  I painted two coats.

After the paint dried I Mod Podged the scrapbook paper onto the saucer and used a plastic card to get out the bubbles.  After a few minutes passed I coated the whole thing with Mod Podge.  After they sat for a few minutes I put one more coat of Mod Podge.

I cut out some felt (will try to be more exact next time!) and hot glued it to the bottom.  There is probably a better adhesive but that's what I had at home today.

Nice set of four coasters

Much nicer than the newest catalog I've been using as my coaster!

Now if the temp would just drop about 20 degrees it would begin to feel like fall is near. ;)


giveaways The Girl Creative

Pizza Bites

Every kid loves pizza.  Here's an easy and quick dinner your kids will surely enjoy.  What's even better is I hid broccoli in these yummy pizza bites and not one of the four kids that ate them for dinner noticed!

I used reduced fat Crescent rolls.  Unrolled them and cut them into rectangles.  Smeared some pureed broccoli on first, layered mini pepperonis, sprinkled some cheddar cheese then brought all four corners together and rolled into a ball.  Once I had them all in a greased cake pan I brushed melted garlic butter on top and baked for 12-15 min at the temp on the pkg (don't remember at the moment).


I served them with a side of warmed pizza sauce and Ranch dressing.  They were pretty good and I will definitely make them again.

Enjoy!


giveaways